Create a Simple XML file for run java file using the TestNG
Just you need to add few parameters .
 <?xml version="1.0" encoding="UTF-8"?>
<!DOCTYPE suite SYSTEM "http://testng.org/testng-1.0.dtd" >
<suite name="Suite_name" parallel="false">
<parameter name="testng.metrics.report.logo" value = "image_file_path"/>
<parameter name="testng.metrics.report.name" value = "web.html"/>
<parameter name="testng.metrics.report.appendTimestamp" value = "True"/>
  <test name="Test">
    <classes>
      <class name="package_name.file_name"/>
    </classes>
  </test> <!-- Test -->
</suite> <!-- Suite -->
Run as TestSuite
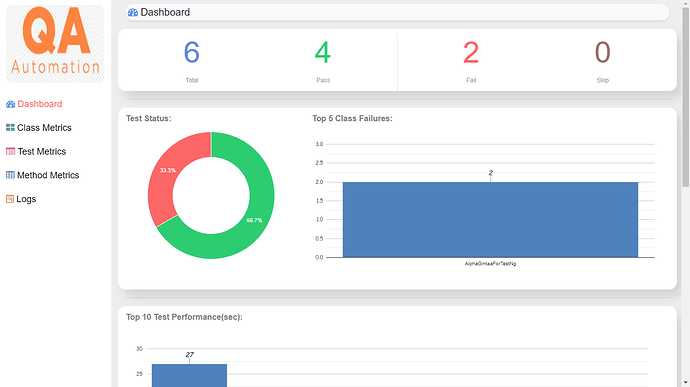
Refresh The test-output after complete the test you will get the html file.
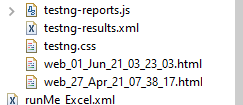
Select the html file starts with “web” open the with web browser.
Conclusion
We hope you guys have learned by reading this article.
Let us know if you have come across any other scenarios where you have found a better way to effectively implement this method. Also, if you have any questions, feel free to reach out to us via the comment section below.
![]() Happy Testing
Happy Testing ![]()