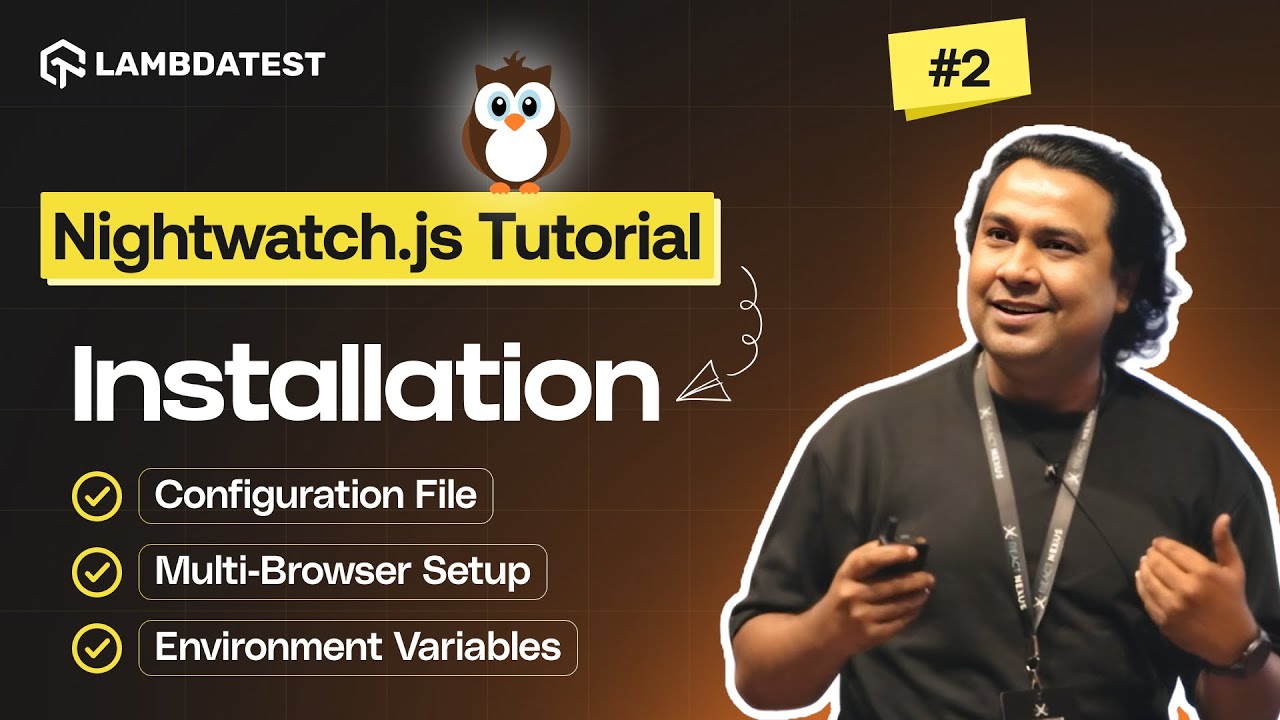
 Watch the 2nd Video of Our Nightwatch.js Series!
In this session, Tapas Adhikary takes you step-by-step through installing and setting up Nightwatch.js for cross-browser testing.
Learn to manage globals, environment variables, and optimize test execution with parallel runs. Click to level up your testing game! 
I’ve been using Nightwatch for a while, and this is how I usually get started super fast:
Initialize your project:
mkdir nightwatch-e2e
cd nightwatch-e2e
npm init -y
Install Nightwatch locally:
npm install nightwatch --save-dev
Install ChromeDriver:
npm install chromedriver --save-dev
Create a config file nightwatch.conf.js with the basic setup pointing to Chrome.
- Create a tests folder and write your first test like opening Google.
Run it:
npx nightwatch
This approach works great if you want everything project-specific without messing with global installs.
Hey there! I usually prefer installing Nightwatch globally so I can run it across projects without reinstalling.
Here’s my flow:
Install Nightwatch globally:
npm install -g nightwatch
Install a browser driver globally (Chrome example):
npm install -g chromedriver
Create a folder for your E2E tests, e.g., nightwatch-tests.
Generate a Nightwatch config file using:
nightwatch --init
It sets up a ready-to-go structure with folders for tests, reports, and examples.
Write your first test in tests/ and run:
nightwatch
I like this method because I don’t have to repeat the setup for every small project.
If you like keeping things fully under Node control, I recommend a project-local setup managed entirely with package.json:
Initialize Node project:
npm init -y
Install Nightwatch and ChromeDriver locally:
npm install nightwatch chromedriver --save-dev
Add a test script to package.json:
"scripts": {
  "test:e2e": "nightwatch"
}
Create nightwatch.conf.js and tests/ folder.
Run your tests via npm:
npm run test:e2e
This approach is neat because everything is versioned with your project, making it easier to share with teammates.
![]() Watch the 2nd Video of Our Nightwatch.js Series!
Watch the 2nd Video of Our Nightwatch.js Series! ![]()
![]()
