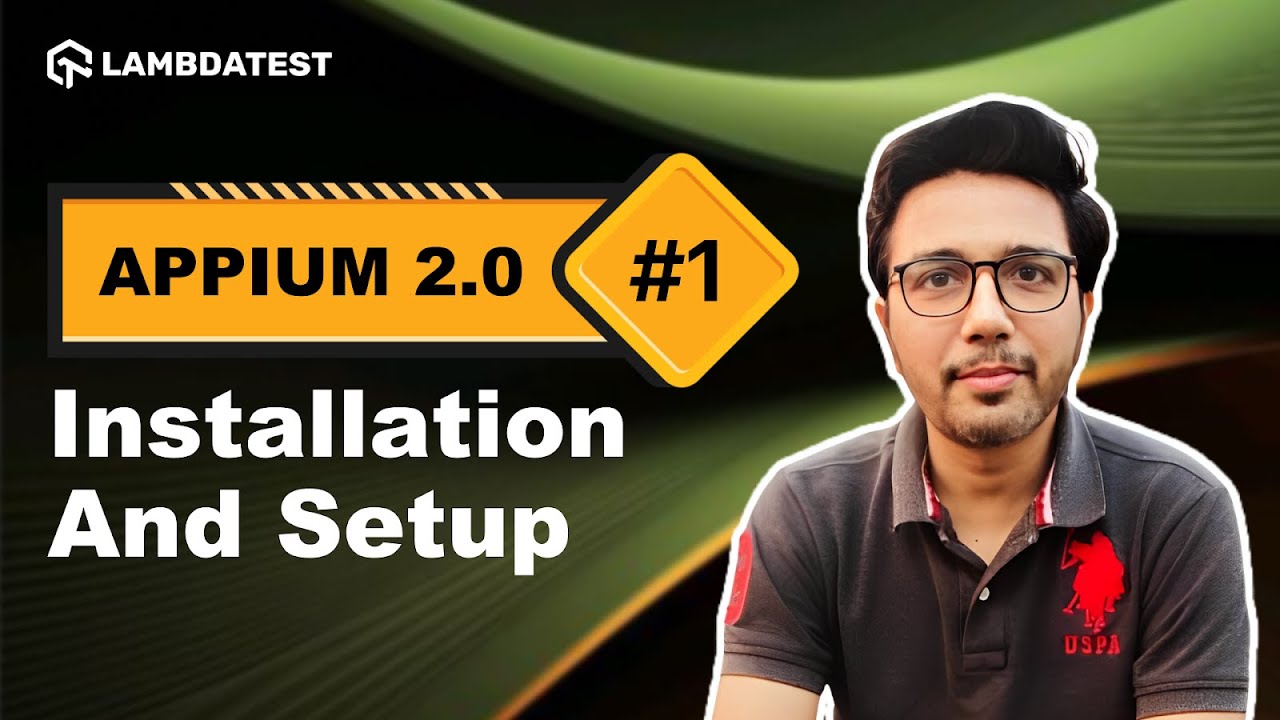
 New Tutorial Alert!
Ready to dive into Appium 2.0? 
In this video, we cover everything you need to get started—from installing Node.js and NPM to understanding Appium’s architecture.
Learn the essential steps to set up Appium 2.0 and take your mobile automation to the next level! 

Watch now and get hands-on with Appium! 
Installing Appium 2.0 is pretty straightforward if you already have Node.js installed.
Just open your terminal and run:
npm install -g appium
That installs the latest version globally. To check it worked, run appium -v to see the version. From there, you’ll want to install drivers or plugins using Appium’s new CLI commands, like:
appium driver install uiautomator2
Appium 2.0 switched to a modular architecture, so you add only the drivers you need. It’s a nice change!
I found installing Appium 2.0 pretty smooth once I got the hang of the new modular system. First, make sure Node.js and npm are installed. Then run:
npm install -g appium
After that, start Appium with: appium
But remember, in 2.0, you have to install drivers separately, like for Android:
appium driver install
uiautomator2
or iOS:
appium driver install xcuitest
This way, you keep your setup lean and only add what you need.
Here’s how I installed Appium 2.0 last week:
-
Install Node.js (v12 or higher).
-
Run npm install -g appium to install Appium globally.
-
Run appium -v to verify installation.
-
Use appium driver list to see available drivers.
-
Install the driver(s) you need, e.g., appium driver install uiautomator2 for Android.
-
Start Appium with the appium command.
I like the new way Appium 2.0 handles drivers and plugins because it’s more flexible than the old monolithic setup.
![]() New Tutorial Alert!
New Tutorial Alert! ![]()
![]()
![]()
![]()
![]()
